BillingNow’s onboarding process helps you set up your workspace in just a few minutes from creating your account to configuring your company identity and branding.
Once completed, you’ll be ready to create and send your first invoice immediately.
🪪 Sign Up
Create your BillingNow account to get started with invoicing and client management.
🔗 Access URL
Go to:
👉 https://billingnow.com/signup
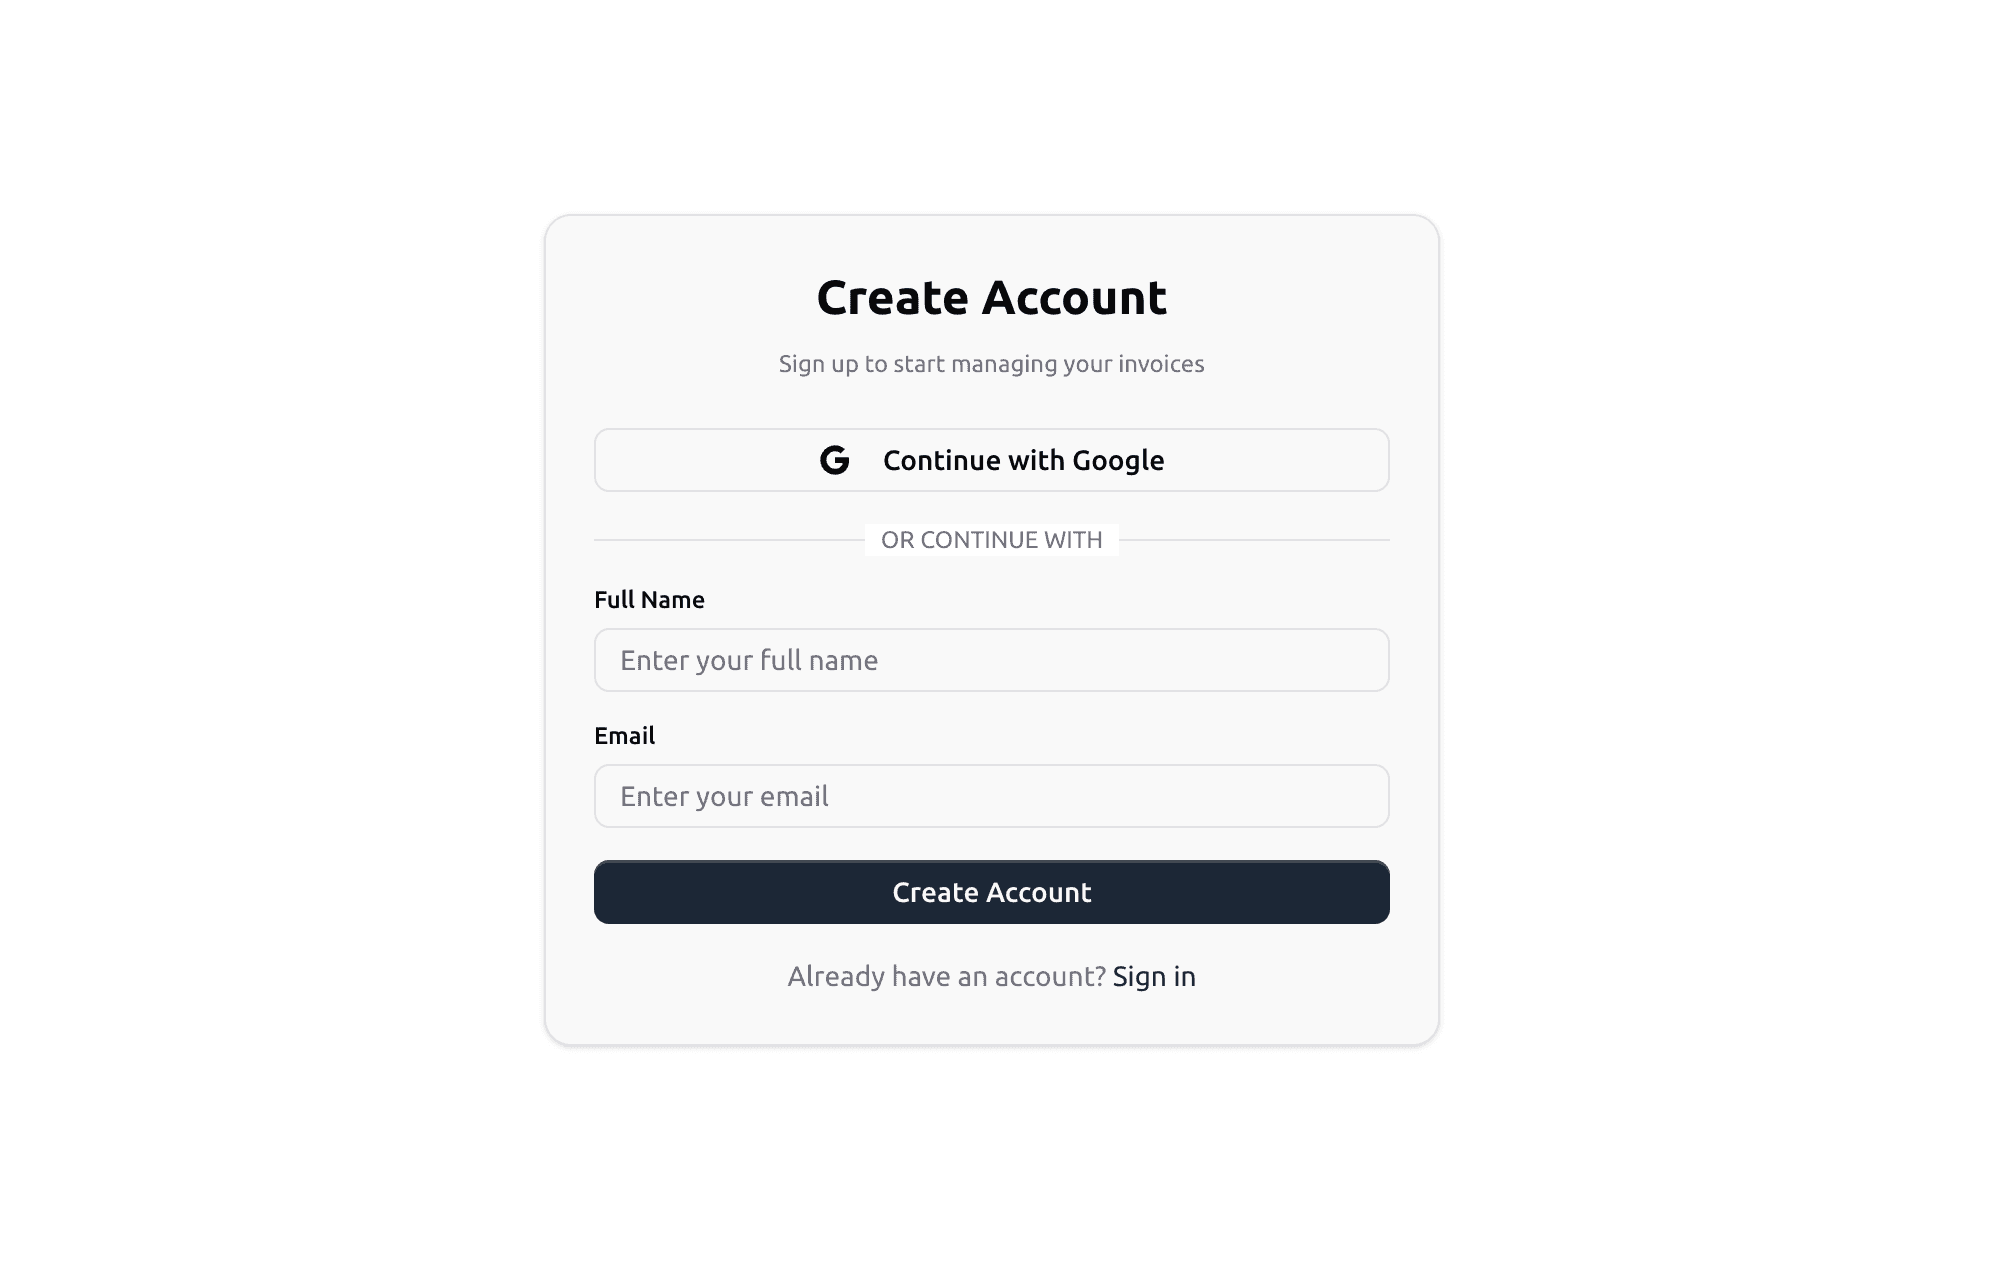
How to Sign Up
-
On the sign-up page, enter:
- Full Name — Your personal or business name
- Email Address — Used for login and notifications
-
Click Create Account
-
You’ll receive an email titled “Sign in to BillingNow”
-
Click the link in the email to continue
You can also sign up faster using Continue with Google, no password required.
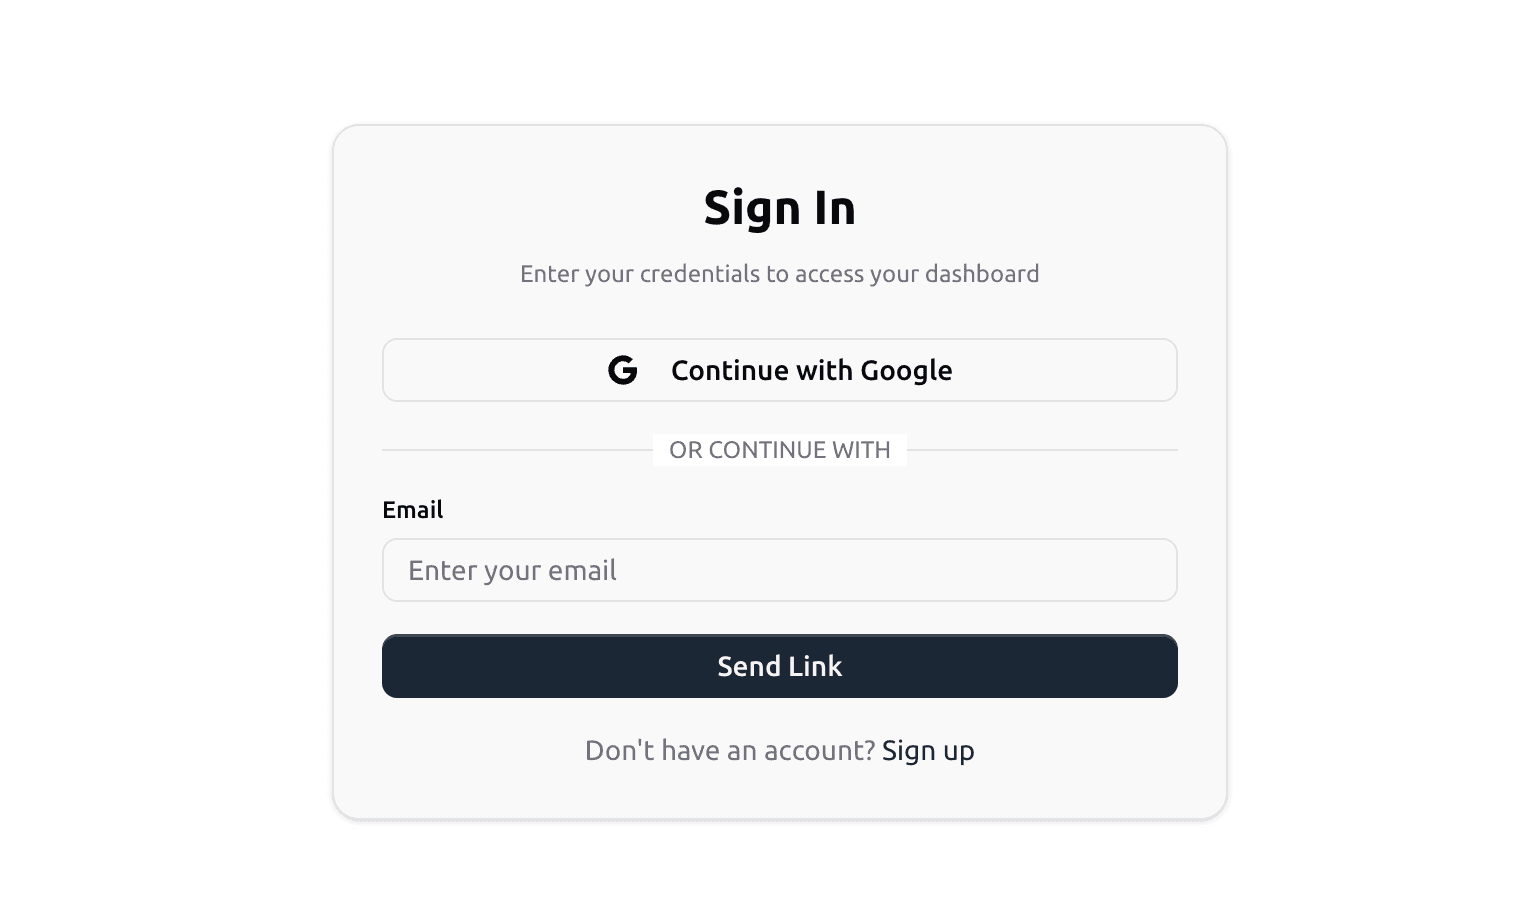
🔐 Sign In
BillingNow offers a simple, secure login process so you can access your account quickly.
Once authenticated, BillingNow immediately redirects you to the Create Company flow.
🔗 Access URL
Go to:
👉 https://billingnow.com/signin
Sign-In Steps
- On the landing page, click Get Started.
- Choose one of the following options:
- Continue with Google — Sign in instantly using your Google account.
- Email Sign-In — Enter your email and click Send Link.
- Check your email inbox for a magic link.
- Click the link to log in securely, no password needed!
Fast, secure, and user-friendly, no password resets required.
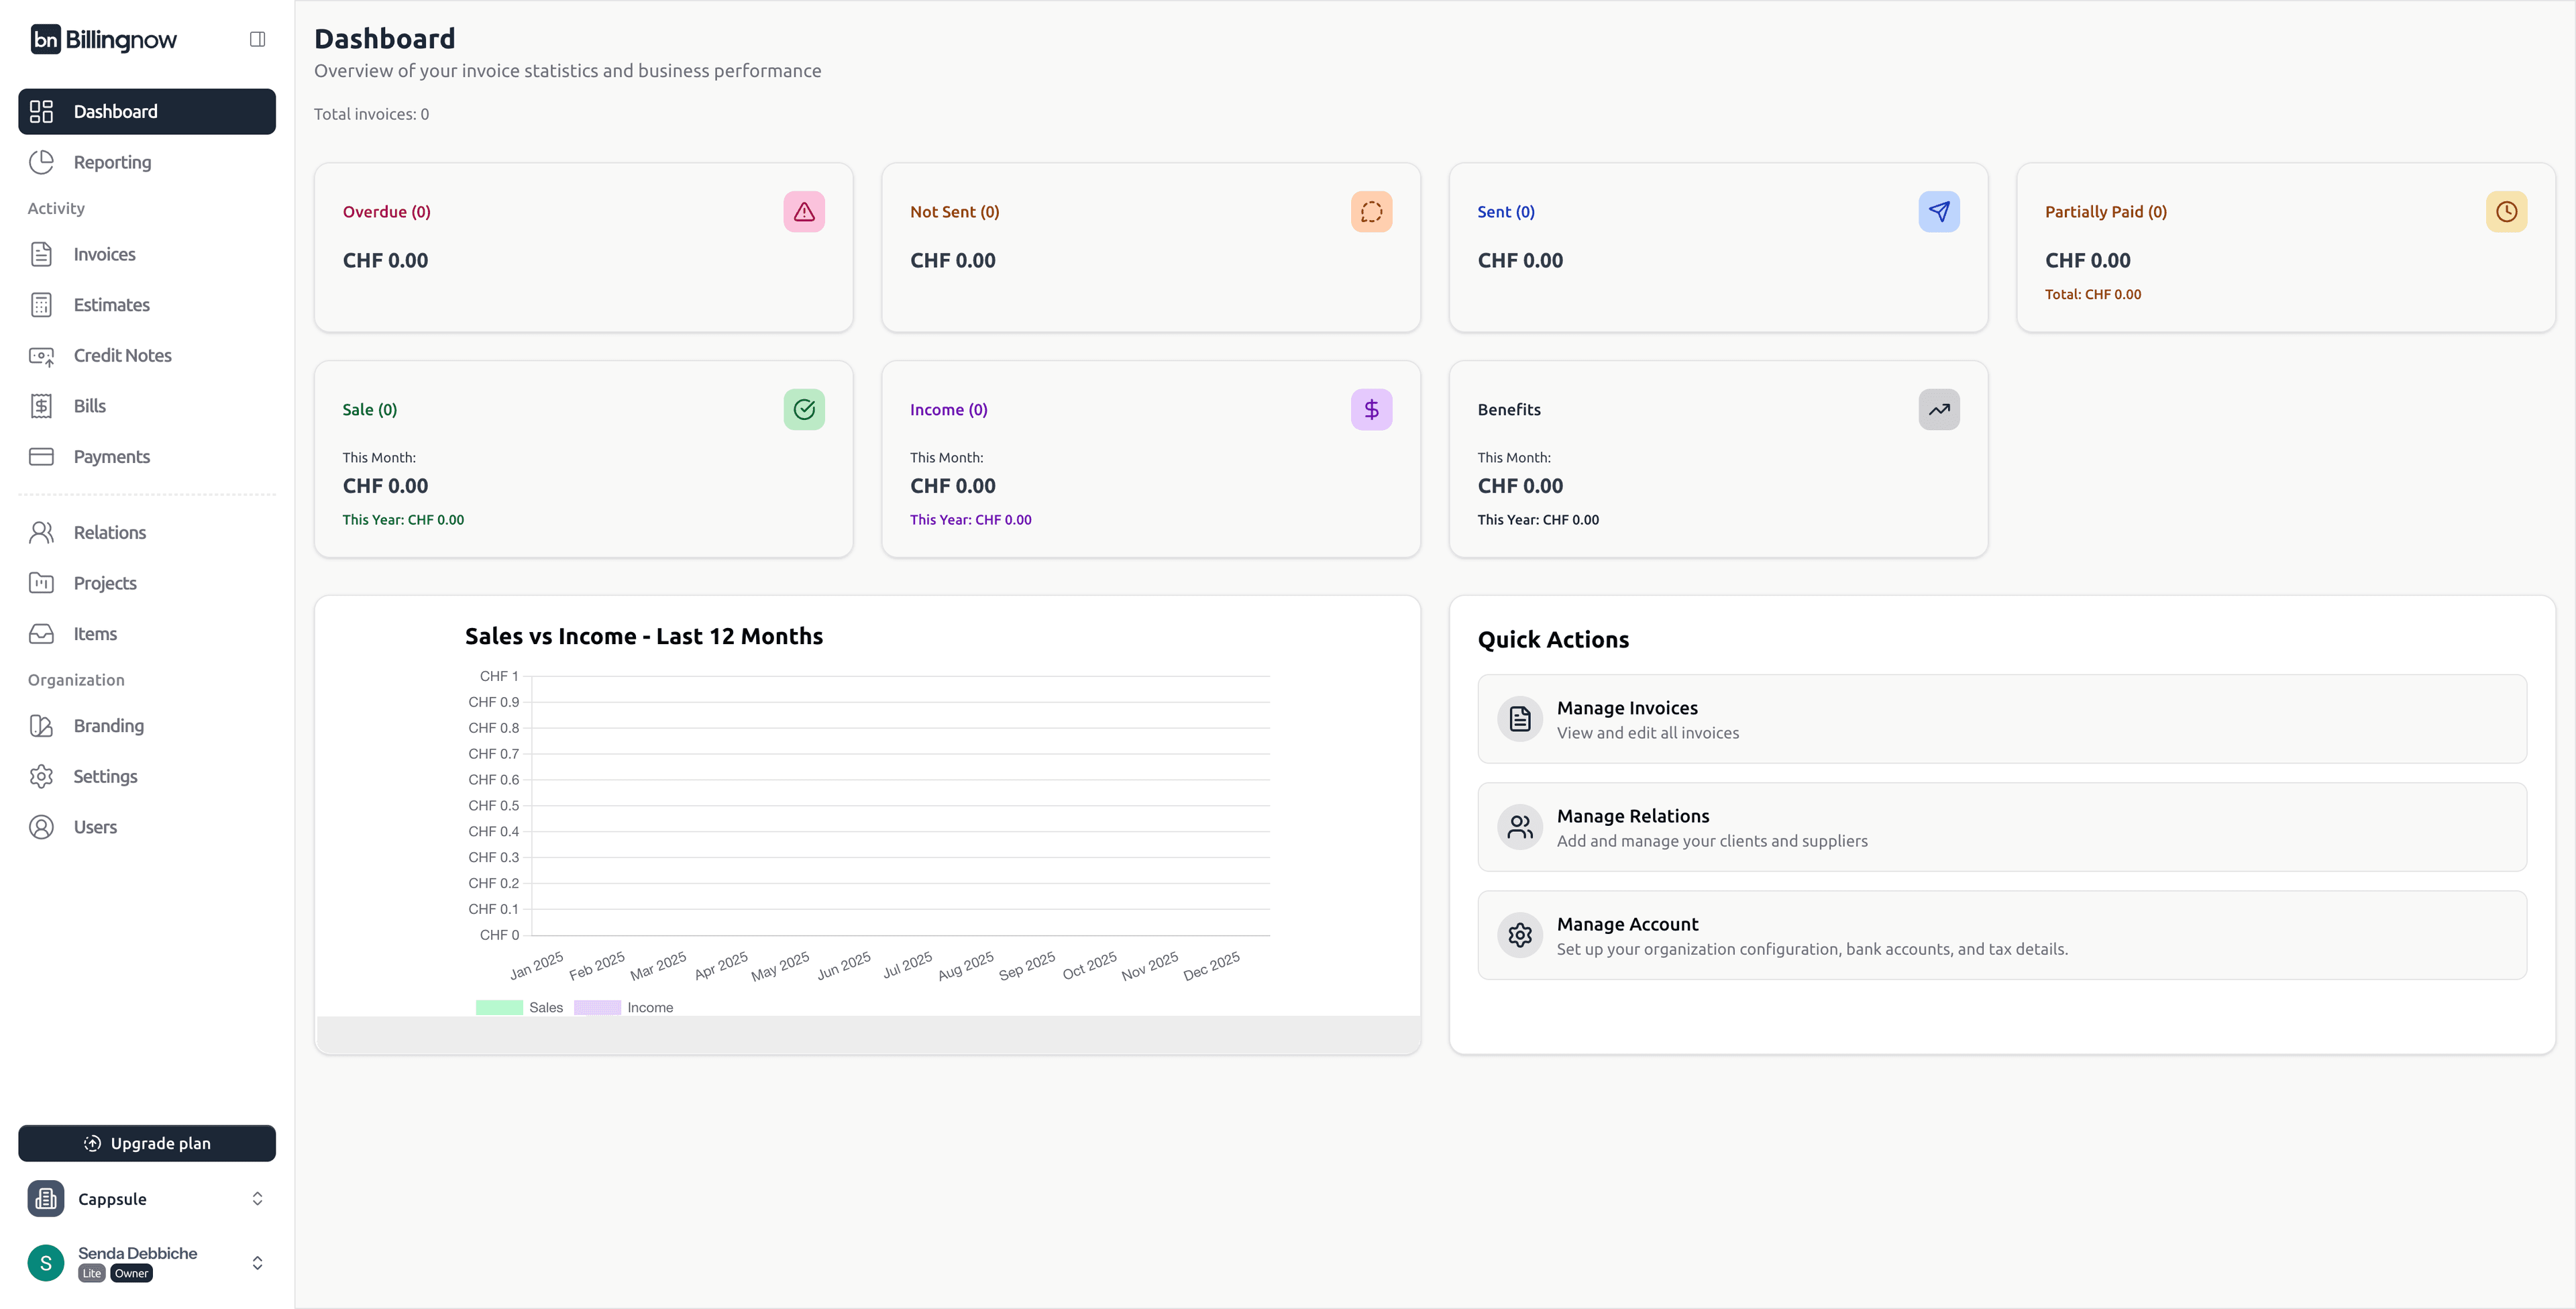
After Sign-In
Once logged in, you’ll land on your Dashboard Overview, where you can:
- View total revenue and pending invoices
- Create your first invoice
- Access reports and settings
Troubleshooting
| Issue | Solution |
|---|---|
| Didn’t receive the magic link | Check your spam folder or click Resend Link. |
| Session expired | Simply sign in again, no need to reset passwords. |
| Wrong email used | Log out and sign in using the correct business email. |
BillingNow uses secure magic links, so you never need to remember or reset passwords.
🏢 Create a New Company
After signing in for the first time, you are automatically redirected to the company creation wizard.
This step is mandatory and defines how your invoices, estimates, and credit notes will look and behave.
✨ Live Invoice Preview
While filling in your company details, you’ll see a real-time invoice preview on the right side of the screen.
- Changes are applied instantly
- No save or refresh needed
- What you see is exactly what your clients will receive
This allows you to fine-tune your setup with confidence.
Step 1️⃣ Company Identity
Fill in your company’s legal and operational information.
| Field | Description |
|---|---|
| Organization Name | Your business or brand name (shown on invoices) |
| Tax ID | VAT / Tax identification number (if applicable) |
| Address Line 1 | Street address |
| Address Line 2 | Optional additional address info |
| City | City |
| State / Province | State or region |
| ZIP / Postal Code | Postal or ZIP code |
| Country | Country of registration |
| Default Currency | Base currency for invoices and reports |
| Timezone | Used for dates and due dates |
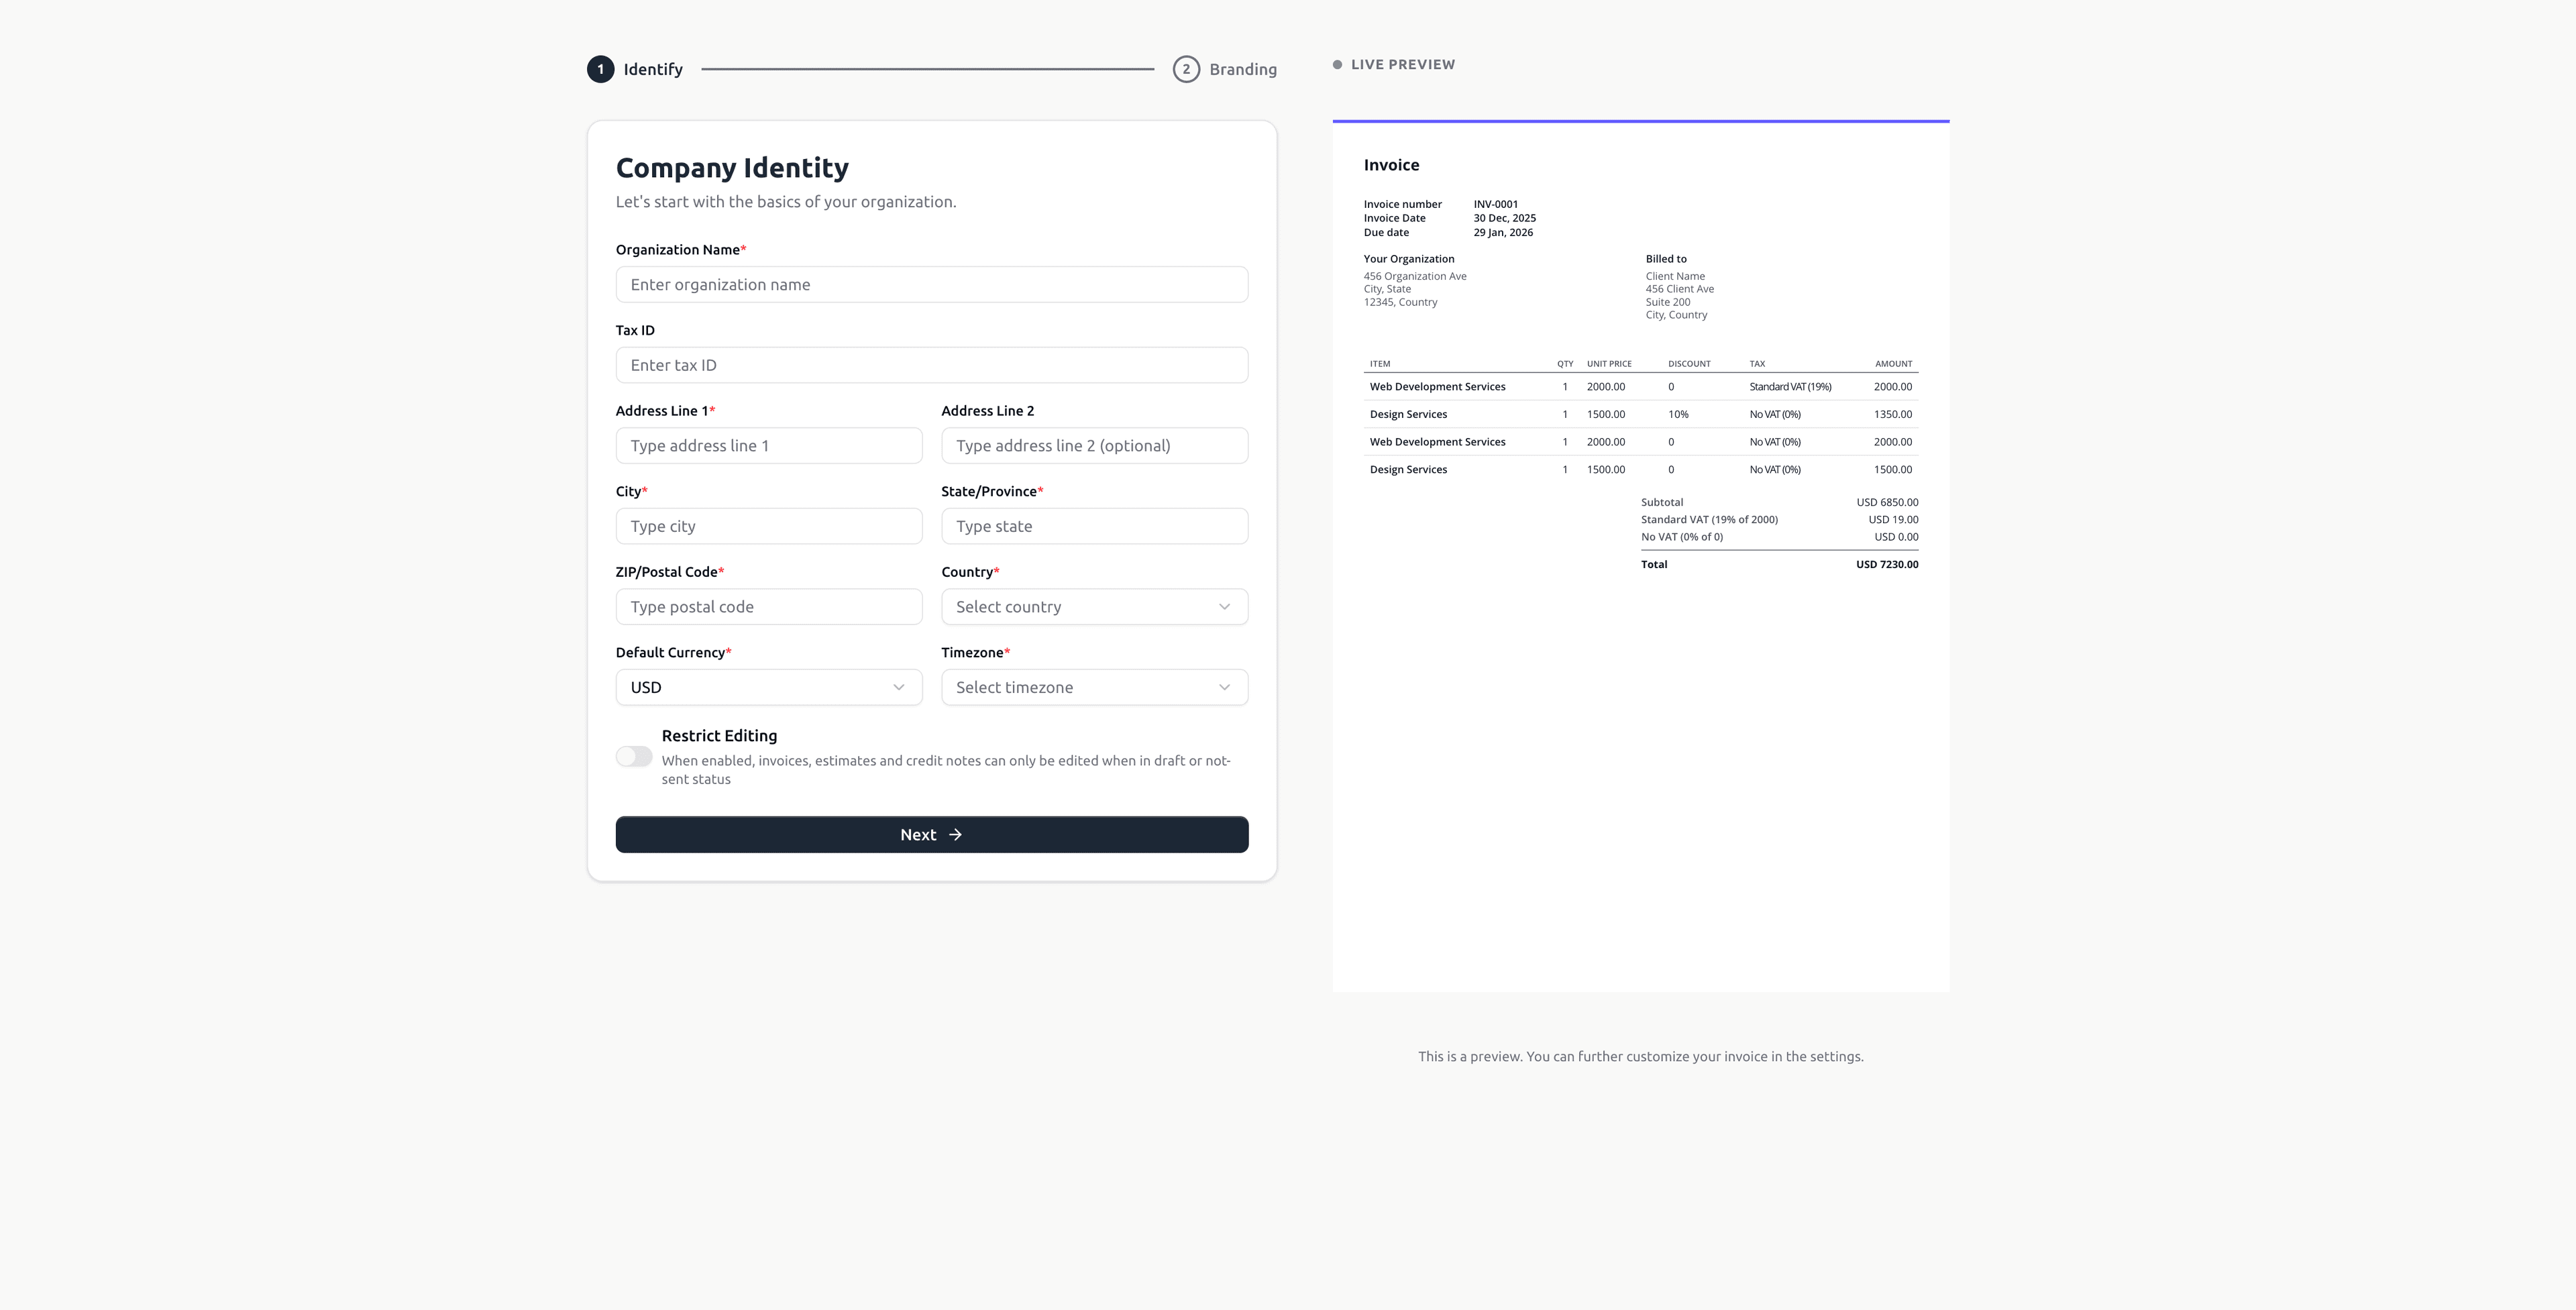
Your Organization Name, address, and currency instantly update the invoice preview.
Editing Restrictions (Optional)
You may enable Restrict Editing to limit modifications on sent documents.
When enabled, invoices, estimates, and credit notes can only be edited while in Draft status.
Step 2️⃣ Branding & Compliance
Customize the visual identity and legal text of your documents.
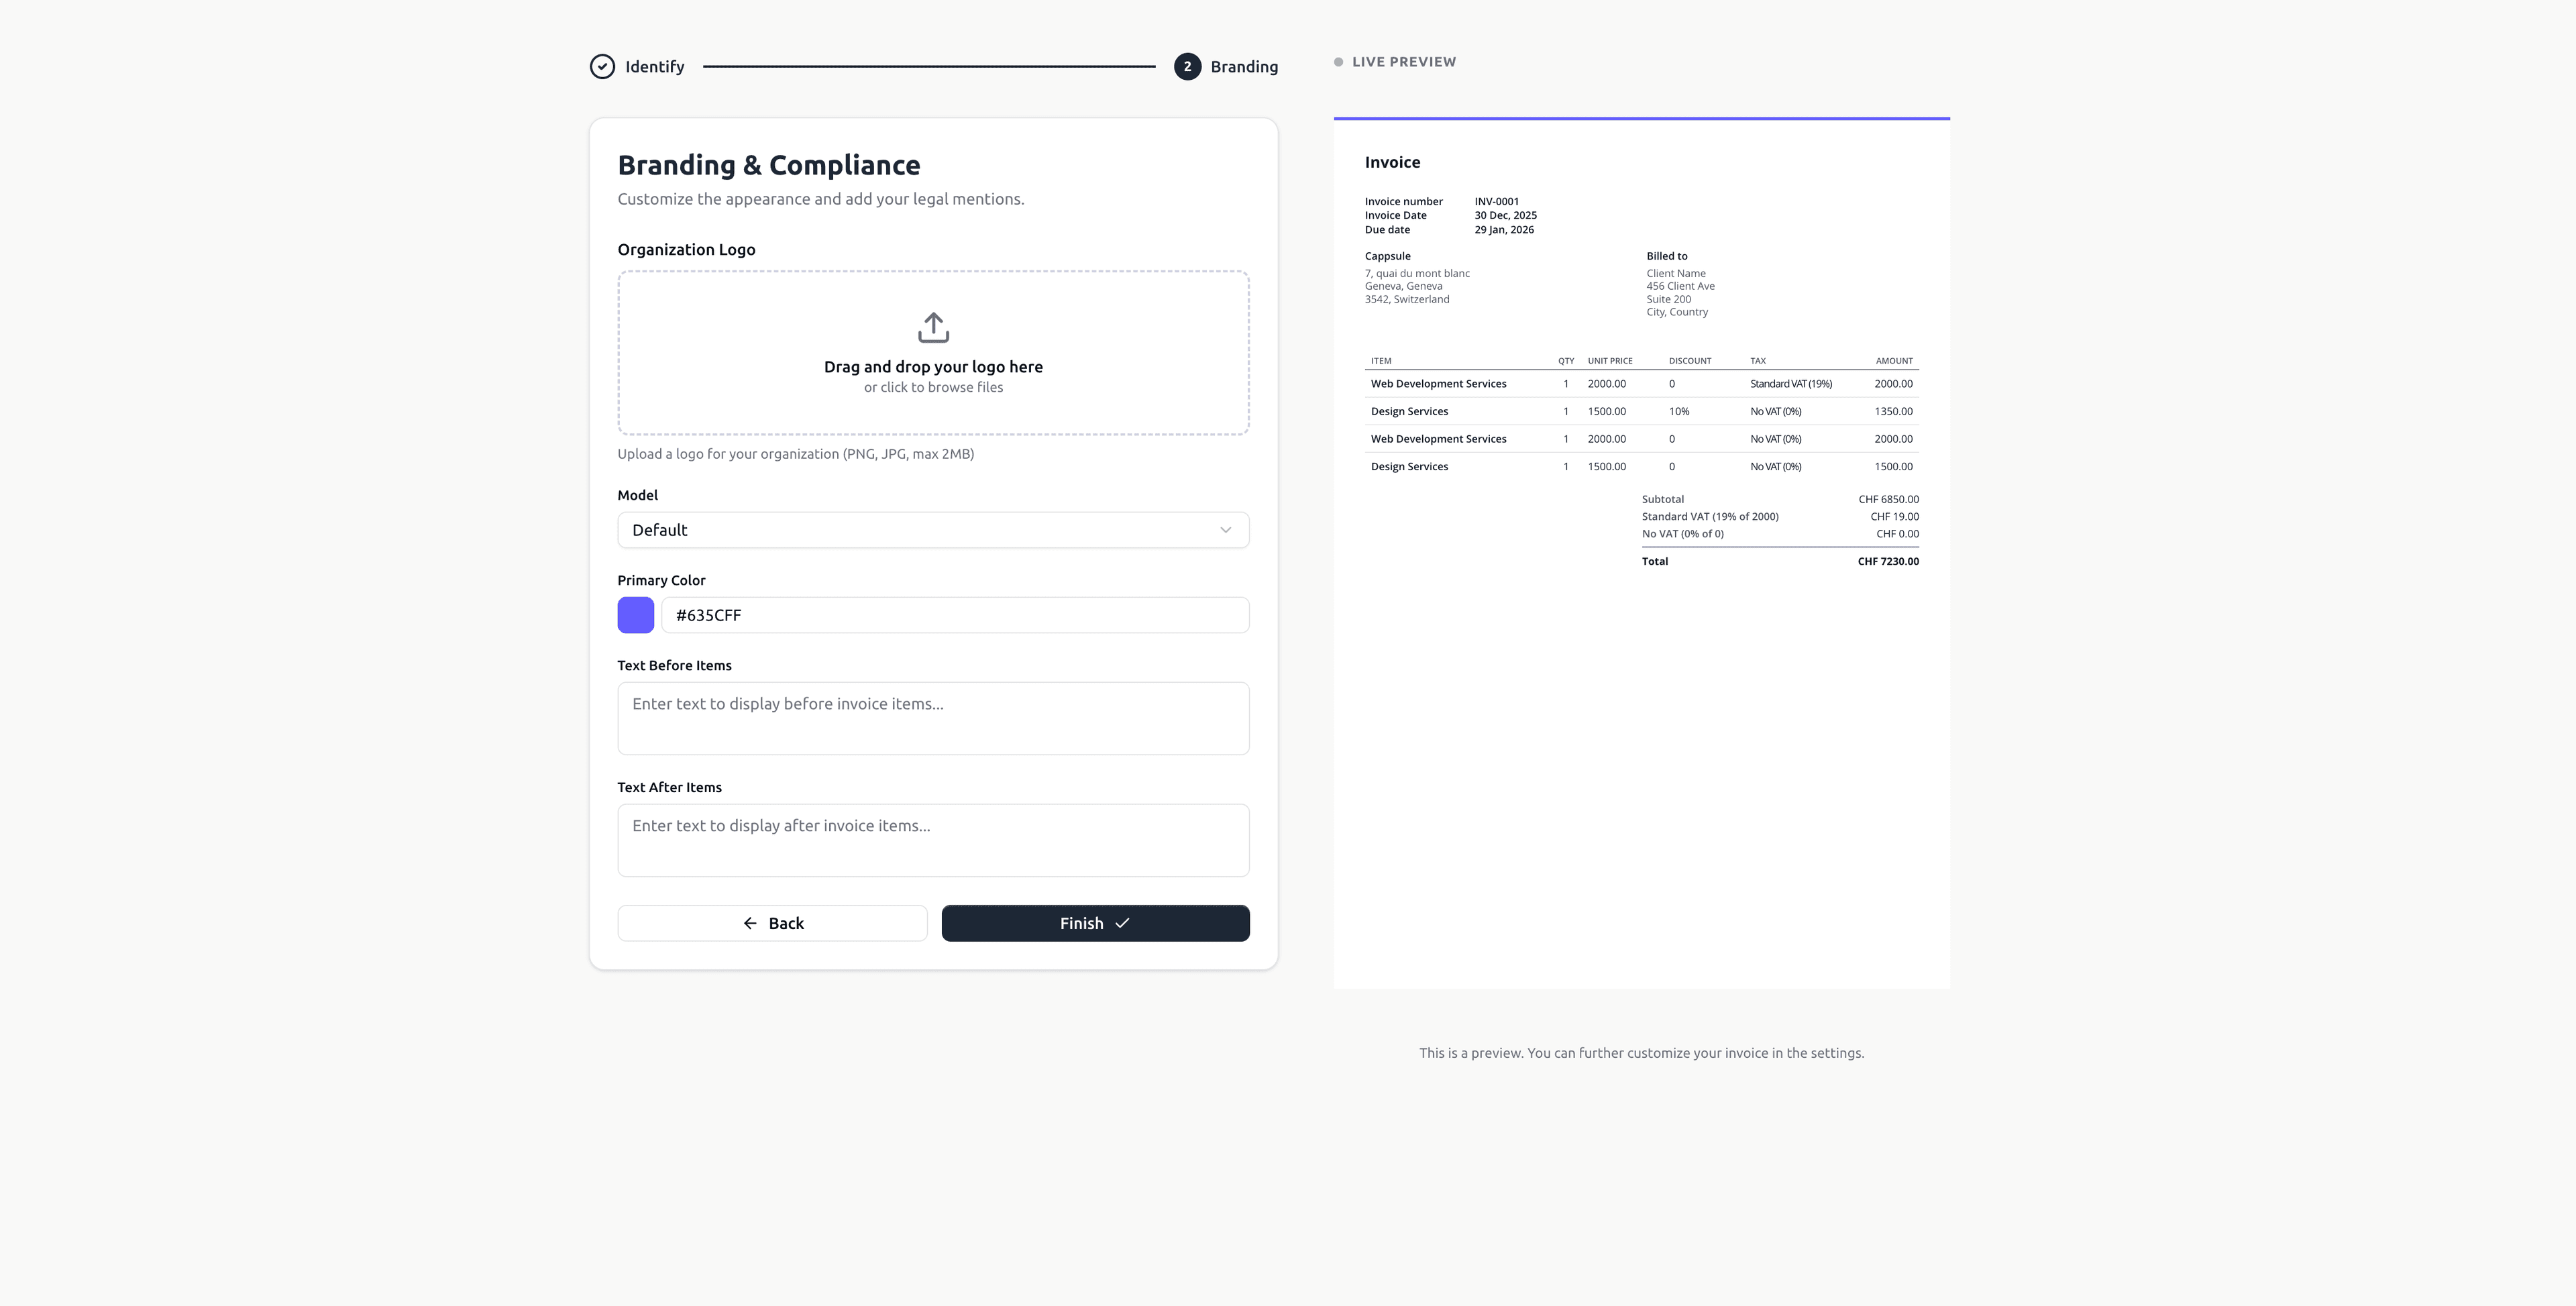
| Field | Description |
|---|---|
| Organization Logo | Logo displayed on invoices (PNG/JPG, max 2MB) |
| Model | Invoice layout template |
| Primary Color | Accent color used on invoices |
| Text Before Items | Optional message displayed before line items |
| Text After Items | Optional footer or legal text |
Every branding change is reflected live in the invoice preview.
Finish Setup
Click Finish to complete onboarding.
🎉 Welcome Modal
Once setup is complete, you’ll see a confirmation modal with quick actions.
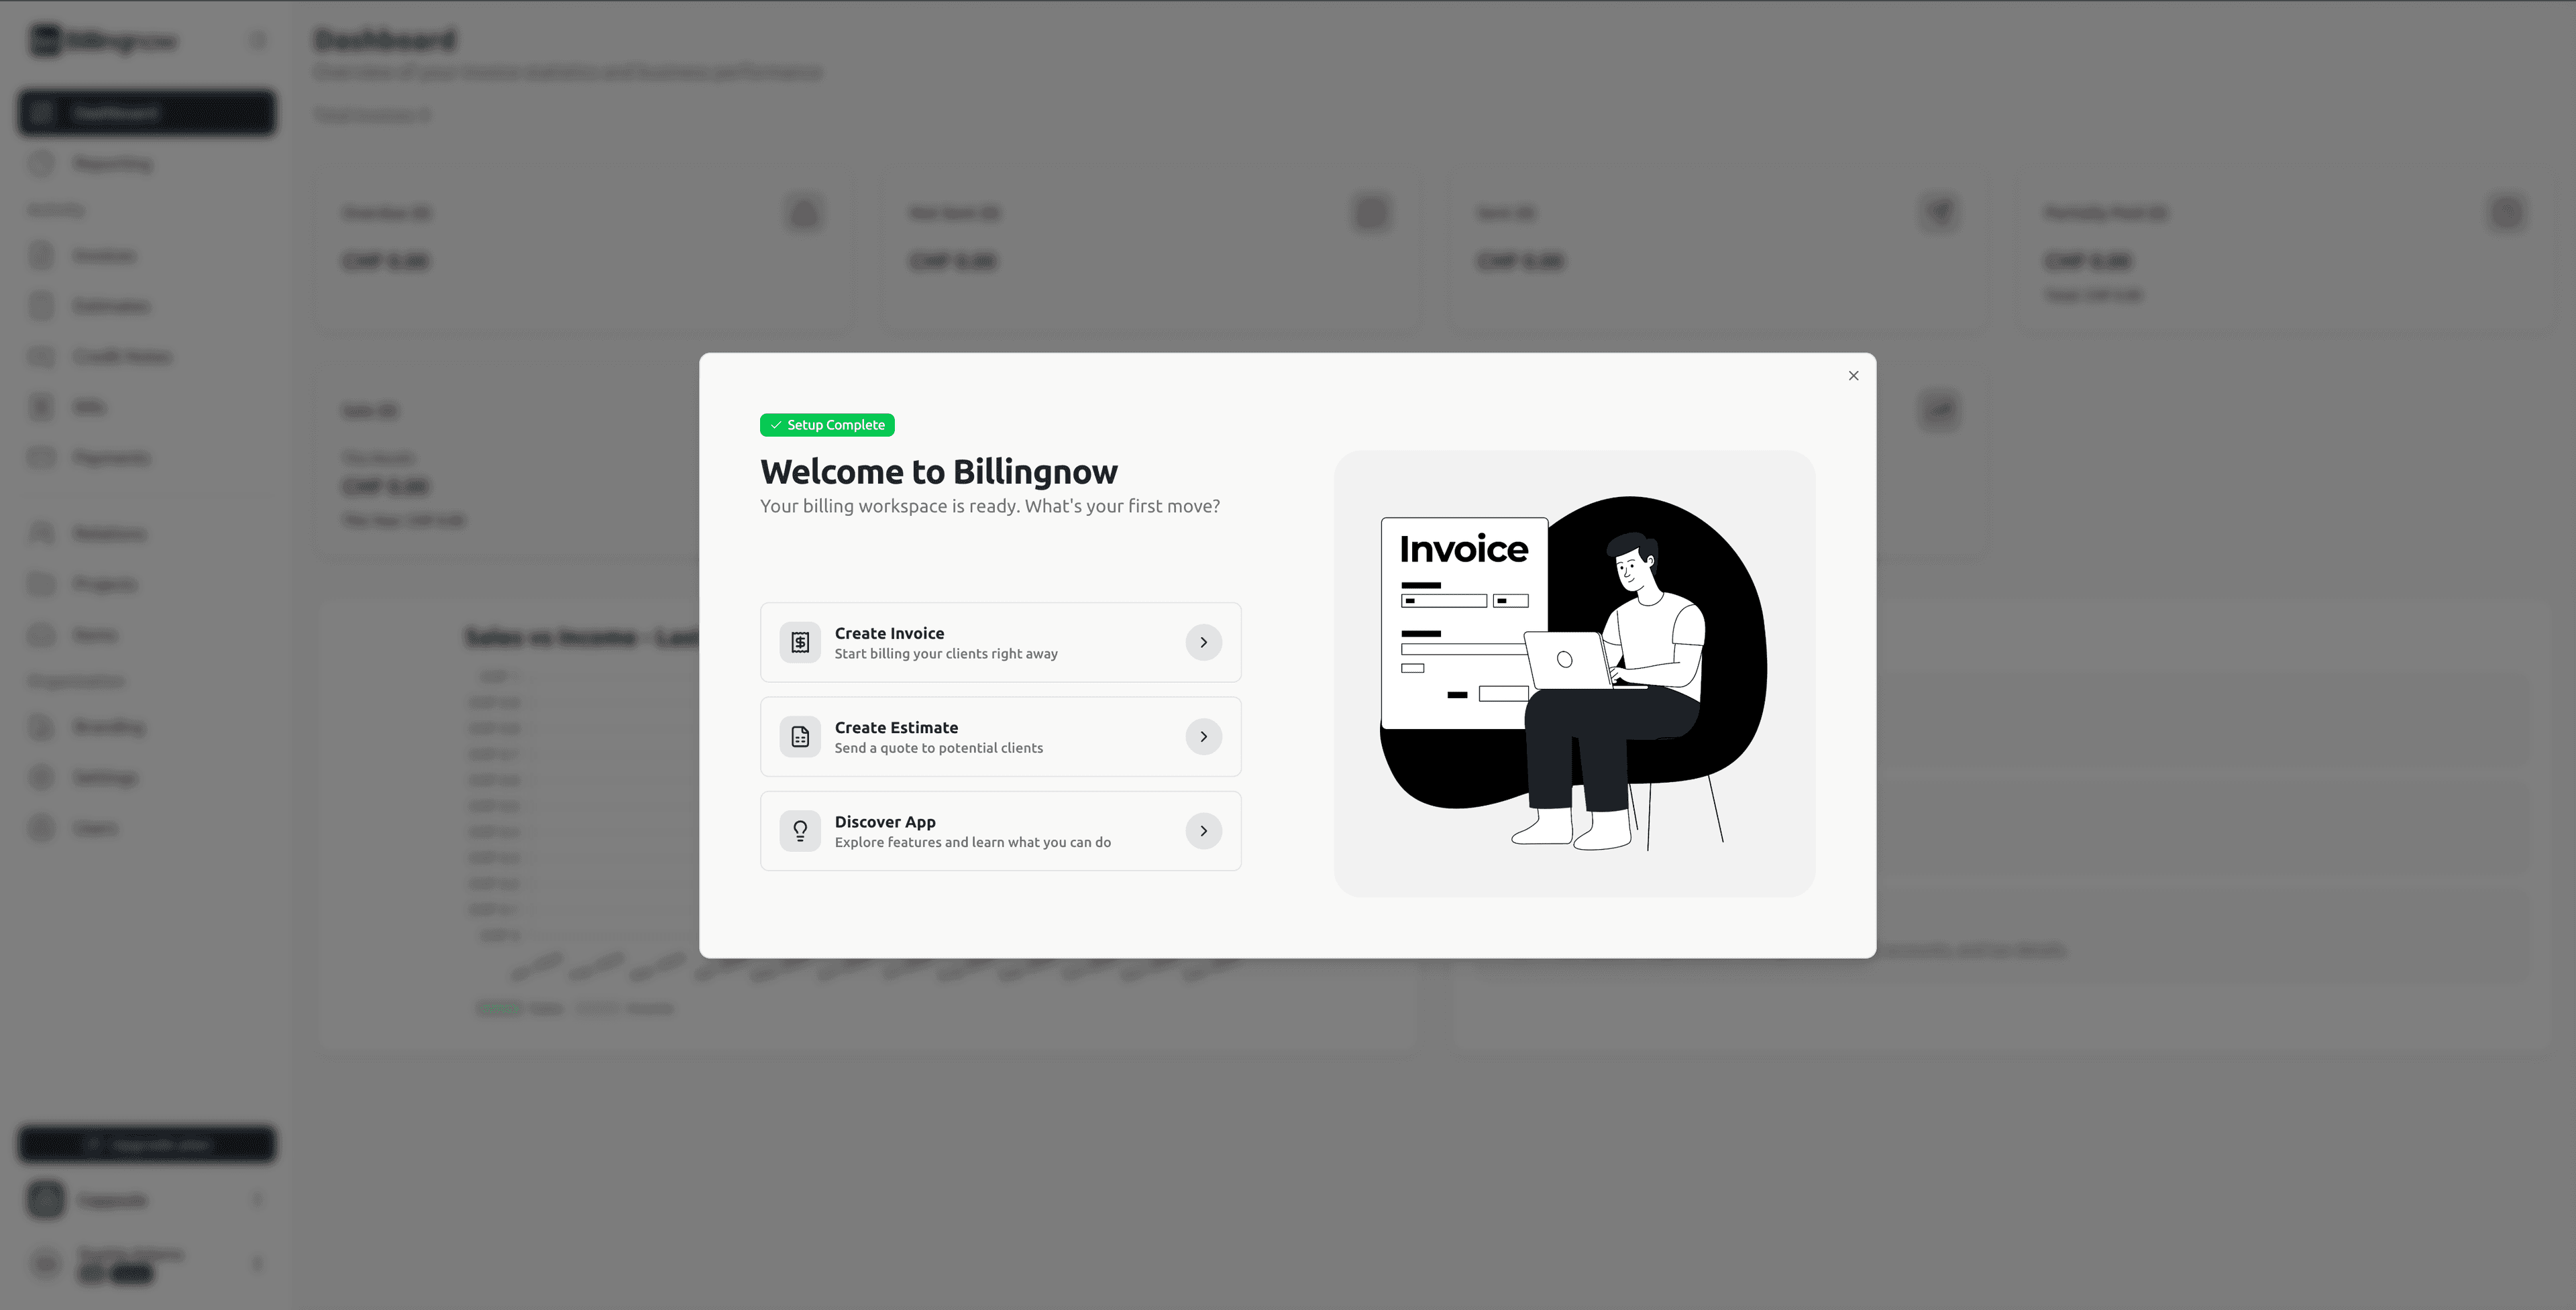
You can choose to:
- Create Invoice — Start billing immediately
- Create Estimate — Send quotes to clients
- Discover App — Explore BillingNow features
✅ Result
Your BillingNow workspace is now fully configured:
- Company identity set
- Branding applied
- Live invoice template ready
- Secure login enabled
You can now manage clients, create invoices, and track payments with confidence.